Saturday, November 29, 2008

Yet More Drivetrain Work

Today I returned to Mike's for more drivetrain work. On this visit I was mainly a spectator.

We started with the channel pieces that will go at the top of the drivetrains. Mike lopped off the tops, leaving the channels about 1.5" tall. Good thing this isn't dangerous or anything...


Once the channel was cut to size, the corners were cut, at about 55 degrees.


Next up, the motor mounts. These are cut from larger, 1/4" thick aluminum stock. Look at that aluminum fly!


At the end of the visit I cut a couple of more axles, with five more remaining to be cut down. To be continued...

Friday, November 28, 2008

More Drivetrain Work

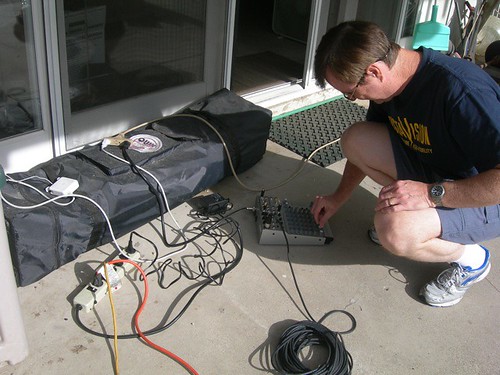
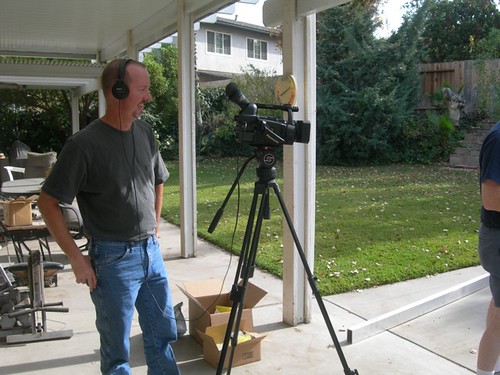
A busy day working on drivetrains with Mike. We had started one drivetrain for one foot last week during the DVD shoot and webcast, and today we started working on the main body pieces for all the other feet.

We are making a total of three droids' worth of drivetrains, two sets for me and one set for Mike. I want two sets because I'm concerned that the Saturn wiper motors on the drivetrain for my completed droid are prone to failure, and these drivetrains will use the NPC 2212 motors, which are much more beefy.

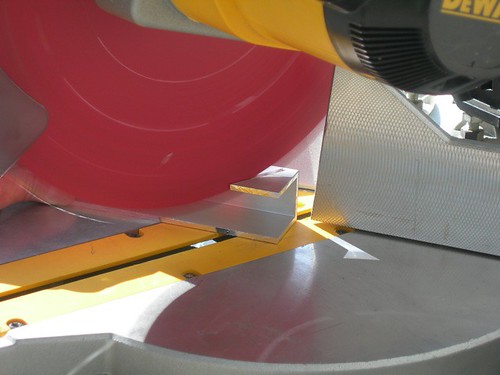
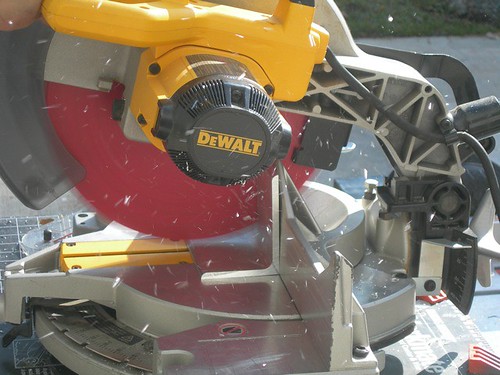
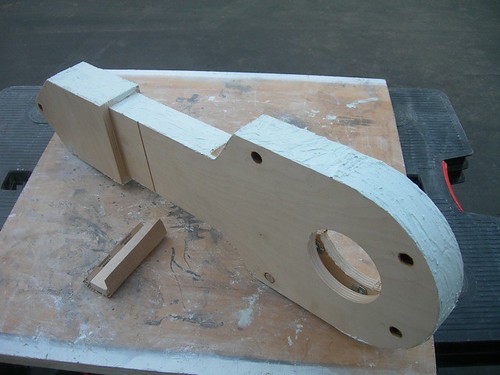
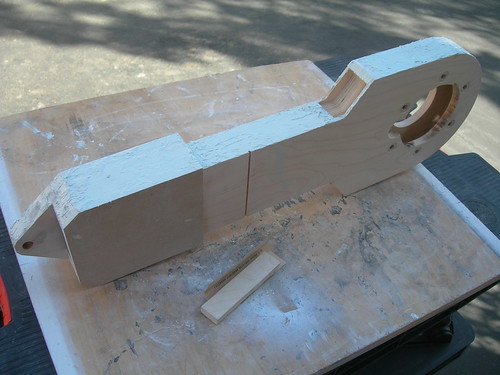
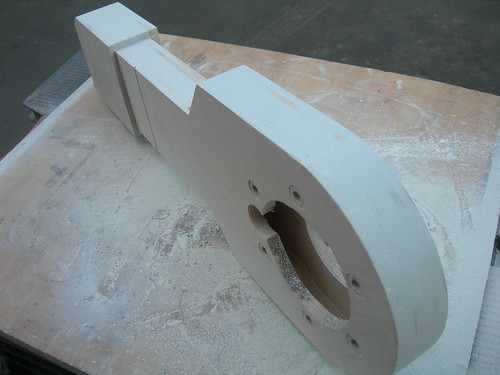
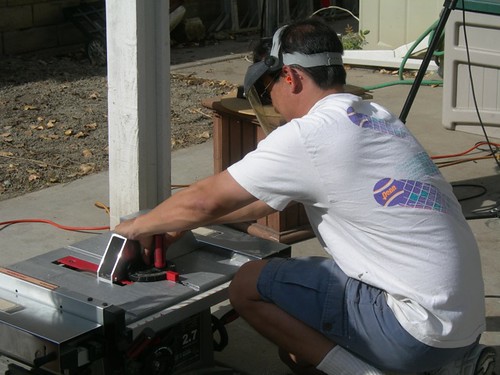
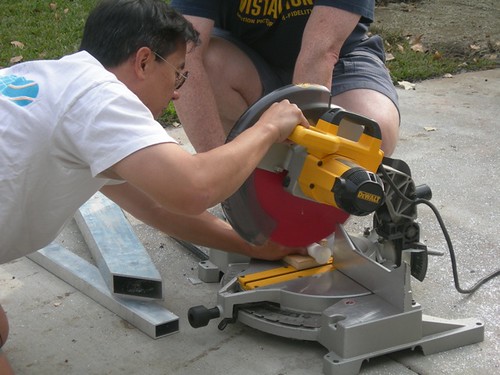
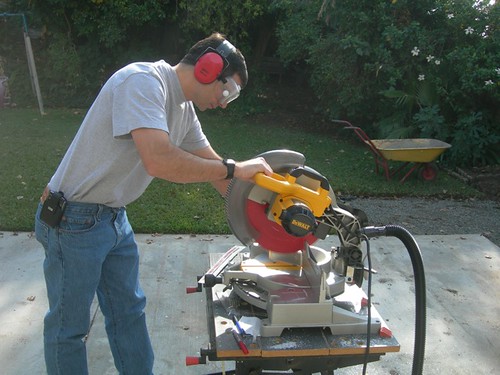
Mike started with the 55 degree cuts on the main body pieces. I'm still amazed that you can chop-saw aluminum.


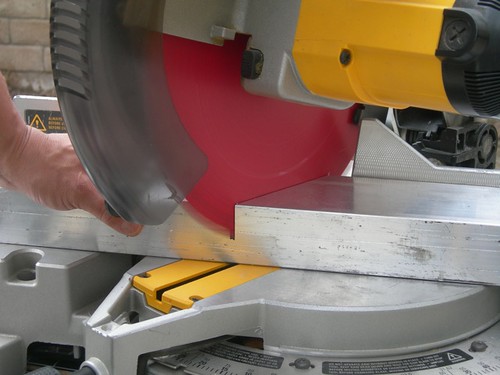
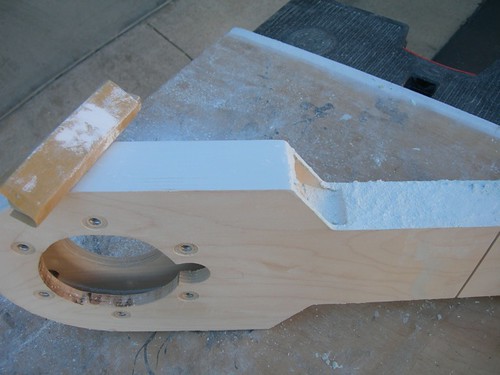
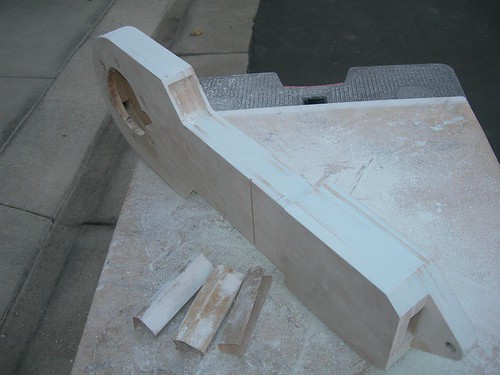
I got into the act by chopping the corners off some of these pieces, so that they will fit within the foot shells.


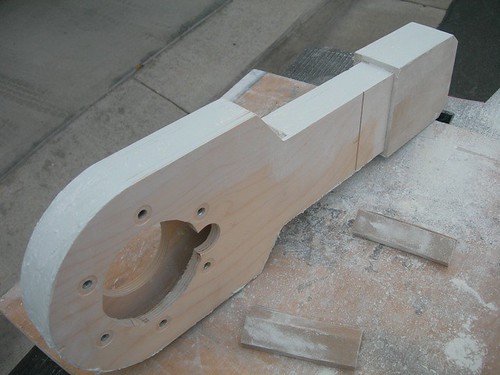
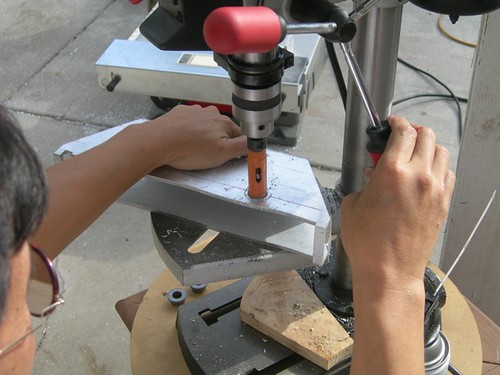
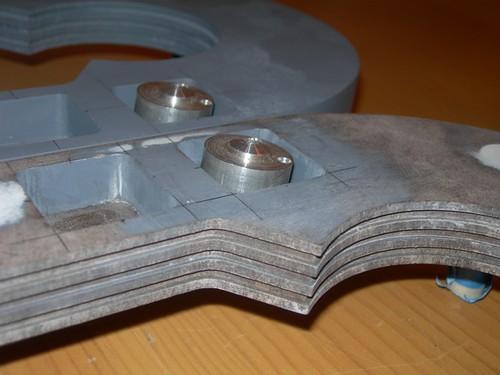
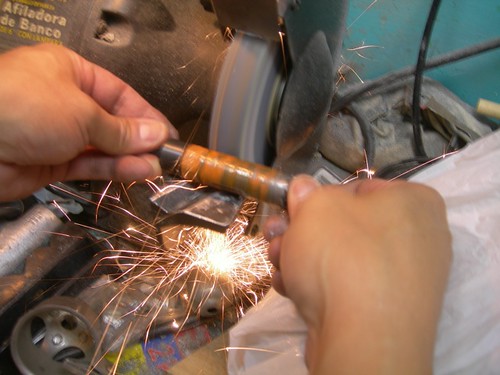
I never miss an opportunity to photograph sparks from the bench grinder! Here, Mike is grinding down the hole saw that we are using to drill the 3/4" diameter holes for the bushings that hold the axles in place.


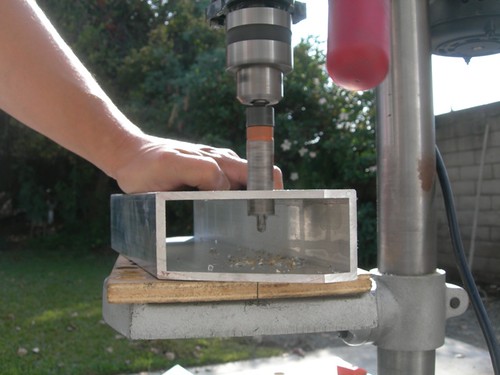
The hole saw needs to cut through one side of the main body, and on through to make a pilot hole on the other side, so that the holes on both sides will be in perfect alignment. Once the tip of the pilot bit cuts through the bottom side, then we can stop the drill press, turn the piece over, and continue drilling the 3/4" hole.


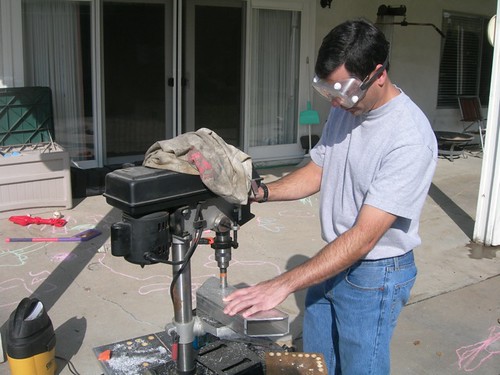
If you miss the target, you get the Spirograph art that Mike created here.


Both Mike and I worked on drilling a lot of these holes.


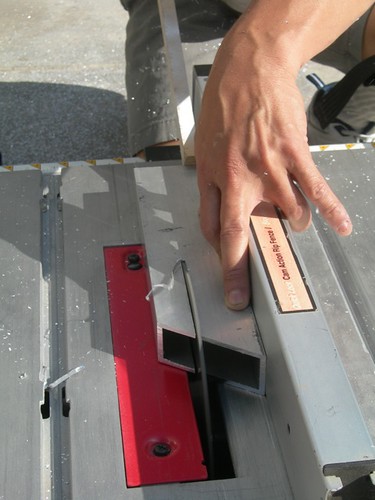
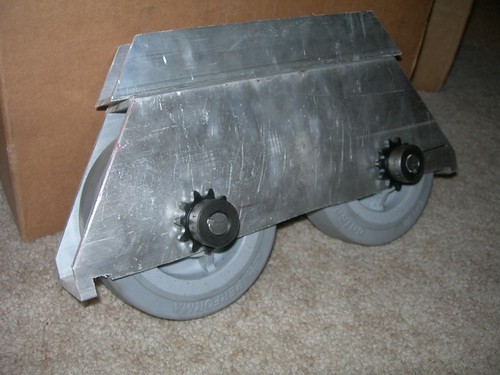
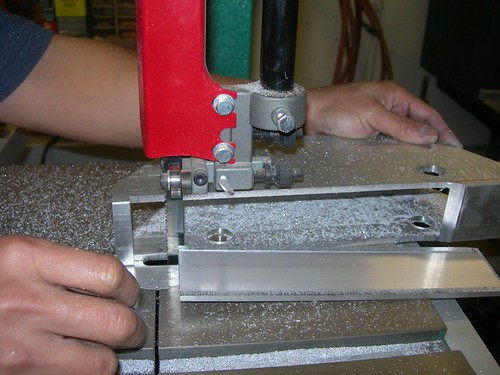
Next, we hopped into the car and drove over to Brian Mix' house, where he graciously let us use his very capable band saw. Mike cut out a portion of the bottom of each main body piece to allow the wheels to fit in.


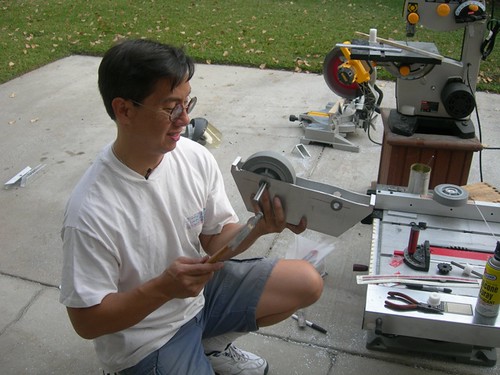
Not a bad day's work.


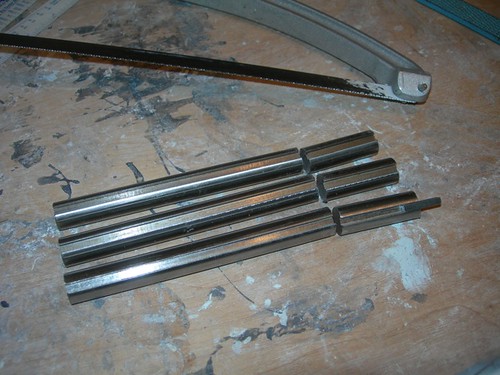
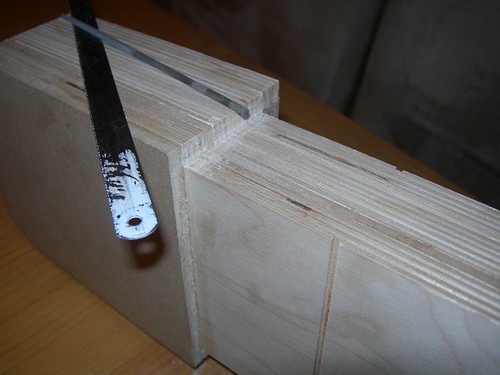
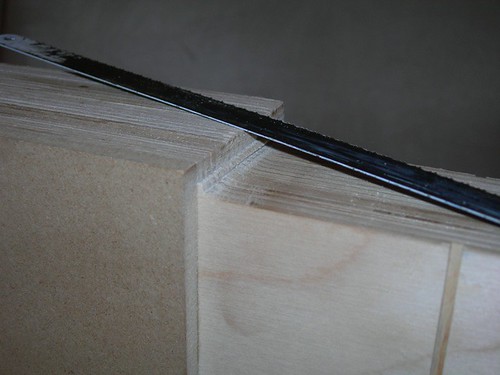
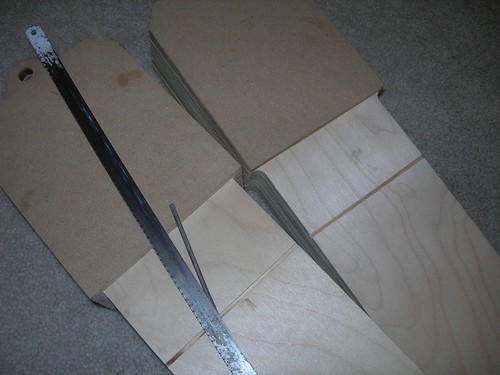
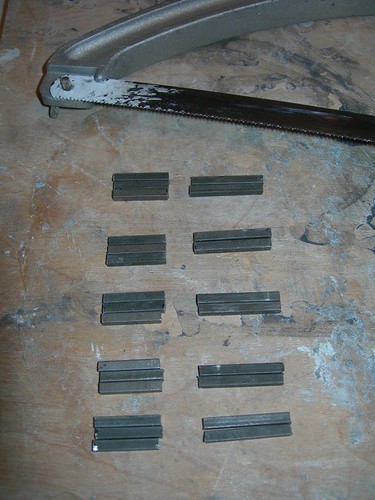
My homework assignment is to cut the key stock and axles to size. The key stock is 1/8" square, and doesn't put up much of a fight against the hacksaw.


In addition to the pieces that Mike already cut for one drivetrain last week, another fifteen pieces of 3/4" length, and ten pieces of 1" length are required. The key stock will fit into the keyways that lock parts such as axels, Delrin rings and gears together.


Ah, cutting through solid steel, how nostalgic. These are the axles that have the keyway already cut into them. These are cut to 4.5" in length.


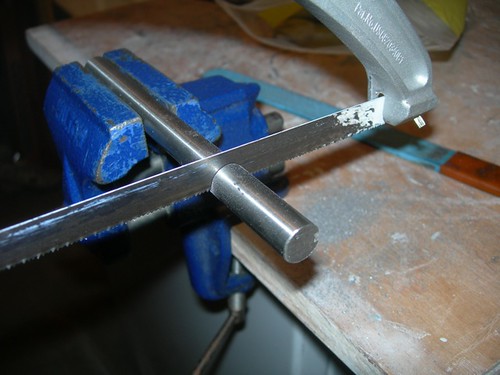
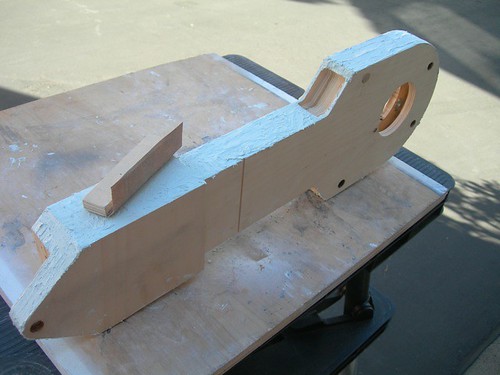
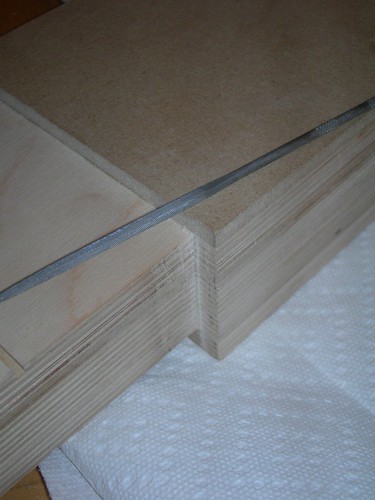
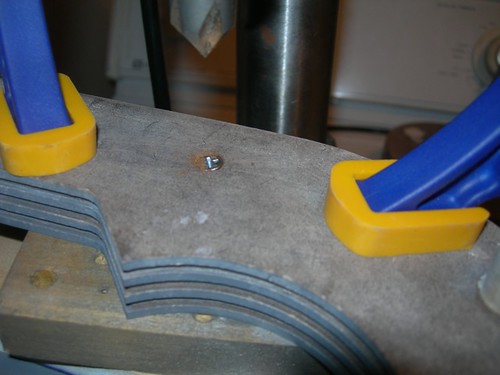
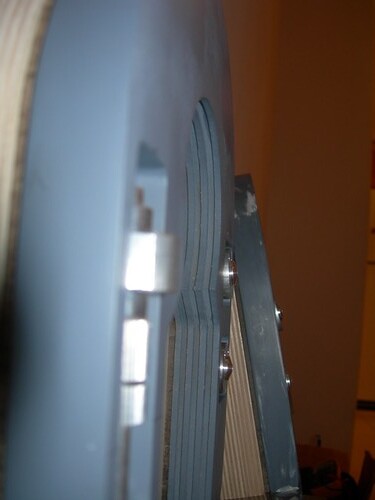
Mike already cut two of these, I cut three more tonight, with seven more to go. I placed a piece of key stock in the keyway of one of the bottom pieces to give an idea of how it fits into the keyway. Once all the parts come together, it will be clearer how the keyways and key stock lock the parts together.

Wednesday, November 26, 2008

Started Sanding Evercoat on Right Leg

Same sanding, different leg.

I started sanding the Evercoat on the right leg today.


Because I started late in the day, I didn't get very far, just enough for a first pass with 150 grit sandpaper on the flat areas on one side of the leg. I'll get back to this sooner or later.


One other thing I should mention: Sometimes visitors leave questions in the comments area, and I always answer these questions. (If you have a question that I haven't answered, please let me know.) If you provide an e-mail address with your question, I will also e-mail you the answer, along with the answer in the comment area so you won't have to go hunting for the comment again, but it's totally up to each individual.

Tuesday, November 25, 2008

More Sanding on Left Leg

Today I had a little time to continue sanding the left leg. I had sanded the flat areas on one side, and I still needed to do the flat areas on the other side, along with the round shoulder area.


Just about done. I need to fill some small areas here and there, and sand those down. It shouldn't take too much work.

Saturday, November 22, 2008

Senna Drivetrain DVD Tutorial & Webcast

Today was the day to shoot the DVD tutorial for the Senna drivetrain build that will go on the R2LA VI DVD. Michael McMaster happened to be in town this weekend, so that made this the perfect date. We also broadcast the hijinks on r2la.com, and a big thank-you is due to the many people who tuned in, some for the whole day!

Before I forget to mention it, the Bill of Materials for the drivetrain can be found here, as of this writing: drivetrain.xls. At some point blueprints will also be available, but I don't know when. There is also talk of a possible run of these, again I don't know when, or even if this will actually happen. Onward.

Tools... Check.


Victor on webcam... check.


Brian on sound board... check.


Michael McMaster on camera... check.


The first cuts involved cutting the aluminum tubing to create the channel on top, and the main body of the drivetrain underneath. Both need to have corners cut at the same angle as the foot shells they fit into, 55 degrees.


Next, Mike used the table saw to repeatedly widen a slot into the bottom of the tube.


This way he could fit the band saw blade into the slot, to cut most of the bottom off the tube where the wheels go.


A 3/4" hole saw is used to drill holes for the bearings that will hold the axles in place. This is where we had an "oopsie," as one of the holes didn't quite line up with the hole on the other side due to a measurement error. Mike thinks he knows how he can correct this problem, but there is a chance we will recut the piece.


Wheels and Delrin rings were cut and shaved as needed. Watch those fingers!


Finally, a test fit of the wheels.


Here's where we left off as night fell.


Most of the hard parts are done. The motor mount is the only aluminum piece that remains to be cut. Many holes still need to be drilled, chain needs to be built up, and this is only one of six of these that we plan to build in all. There is still a long way to go, but it's definitely a start.

Sunday, November 16, 2008

Started Sanding Evercoat on Legs

Today I started sanding the Evercoat that I applied to the outer legs yesterday. I didn't get very far, I was only able to sand the flat portion of one side of one of the legs.

As usual, I started with 150 grit sand paper to take off the high spots and get things fairly smooth.


Next, I moved on to 220 grit, to get a finer finish.


I finished up with 400 grit.


I still have a long way to go, and unfortunately I don't think I'll get much time to work on this for a while. It's too dark to sand at night when I get home from work during the week, and next weekend I'm scheduled to help shoot the Senna drivetrain tutorial for the R2LA VI DVD.

Saturday, November 15, 2008

Evercoat for Legs

Today I had some time to apply Evercoat to the outer legs.


Typical smog in SoCal? No, the wildfires are back. Unlike the last time, where the fires got within 4 miles of my house, these ones are a good 15-20 miles away. I think they are within 2 miles of Mike Senna's house, though.


I finished the first round of Evercoat for both outer legs, I will probably begin the sanding process tomorrow, and find out what areas I missed.

Tuesday, November 11, 2008

Squared Ankle Curves on Left Leg

Well, this should look familiar. In a replay from last night, I squared up the area where the main leg body meets the ankle, this time for the left leg.


Again, I used a hacksaw blade to take off about 95% of the material.


I used the square file to finish it up.


The legs should be ready for their Evercoat when the time comes (whenever that may be).

Monday, November 10, 2008

Squared Ankle Curves on Right Leg

Since it's too dark in the evenings to sand and primer the horseshoes, I decided to do some minor work on the legs.

The area where the ankle joins the rest of the leg has a 1/4" radius to it, due to the router bit that cuts it.


I did a very poor job of squaring this area on droid #1, and I was determined to do a better job this time. I decided to use a hacksaw blade to carefully trim most of the excess material.


I used a square file to remove the last bit of material.


I'm pretty happy with how this came out. I'll get to work on the left leg soon.

Saturday, November 08, 2008

Started Final Primer for Horseshoes

At long last I started applying primer in preparation for painting the horseshoes. Once again I'm using gray primer (vs. white primer) for the horseshoes that will be painted white, so that I'll be able to detect the difference in color between the primer and the paint. This means more coats of white to hide the darker gray color, but so be it.

One of the horseshoes hadn't had much primer applied, so I started with that one.


The other horseshoe had a light coat on it, I applied a couple more coats. Three coats in all for both horseshoes.


Next up, the sanding/re-priming cycle.

Thursday, November 06, 2008

Minor Horseshoe Repairs

Tonight I took a couple of minutes to fill and sand some very minor nicks that the horseshoes incurred the last couple of days as I was drilling the holes for the buttons and hydraulics. Too boring for pictures.

Wednesday, November 05, 2008

Drilled Horseshoes for Top Buttons

Tonight I had a little time to work on the horseshoes again. This time, I drilled the horseshoes for the top buttons.

For droid #1 I did the math, and determined that the top buttons tilt at a 5 degree angle. So I set my drill press table to tilt five degrees, clamped the work down, and prepared to drill.


I'm aiming for center on the X axis, and just slightly below center on the Y axis, since the button is going to be tilted such that the center hole will be pointing slightly upward.


Once the front hole was drilled, I countersunk from the back, at the same five degree angle. I test-fitted the #8 screw to ensure it would not stick out above the back surface.


I repeated the process for the other horseshoe and did a test fit. It looks pretty good, I think I can live with it.


With the bottom buttons installed, the tilt of the top button is a little clearer, although the picture is not the best.


The horseshoes are almost ready for final priming and painting. I accidentally put a couple of nicks in the horseshoes that I plan to fill and fix. These are almost microscopic, but I figured I will try to make them as perfect as possible.