Thursday, May 31, 2012

Painted R5 Body Panels

Painting time!

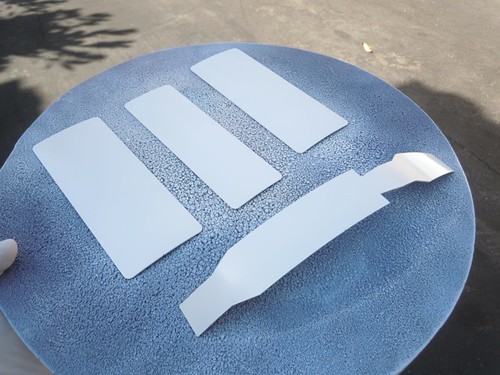
Well, first it's primer time. I applied two somewhat heavy coats of white primer to the R5 body panels that are to be painted red.


After allowing the primer to dry for about 45 minutes, I lightly sanded it smooth with 400 grit sand paper. I then used a moist paper towel to clean off the dust, followed by a dry paper towel to finish the cleanup.


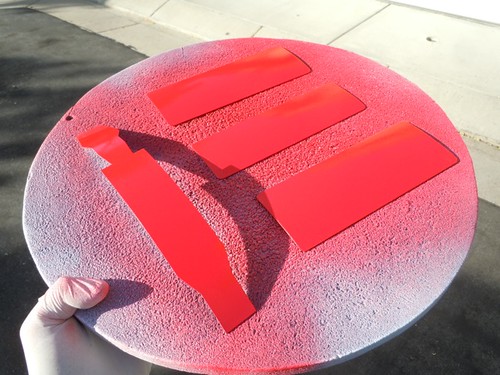
Next, I started painting the body panels with Rustoleum Apple Red. I applied two coats, about 10 minutes apart.


After painting panels blue for so long, it's an interesting change of pace to go with red. It's also nice that it takes fewer coats of different colors to achieve the right look.


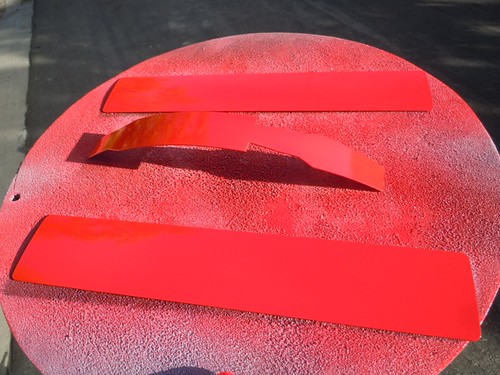
I waited 15 minutes, and then applied one coat of Rustoleum Crystal Clear Enamel clearcoat.


I'll let these dry overnight and if they're dry enough tomorrow, I may try a loose fit on the droid to see how they look.

Wednesday, May 30, 2012

Prepped R5 Panels for Painting

I didn't have much time to work on the R5 body panels, but I did have a little prep time.

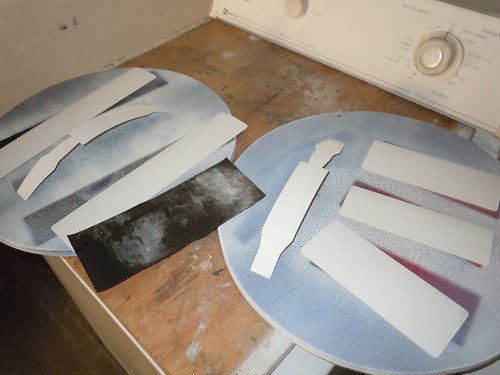
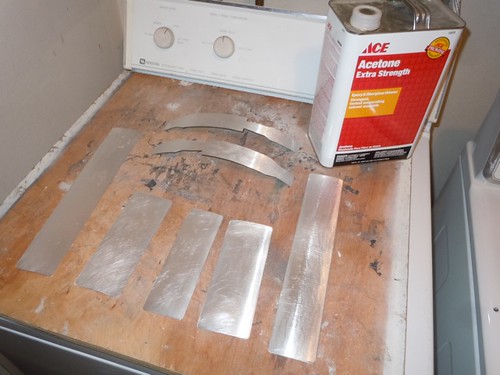
First, I dug up the seven skin scraps that get painted red, and I roughed them up with 220 grit sand paper, in preparation for priming. I also removed about 4+ years of oxidation.


I then cleaned up the dust with paper towels soaked in acetone, because for some reason I think that helps. Nice and shiny!


Up next: Primer, followed by painting.

Tuesday, May 29, 2012

Cut Down R5 Dome Screws

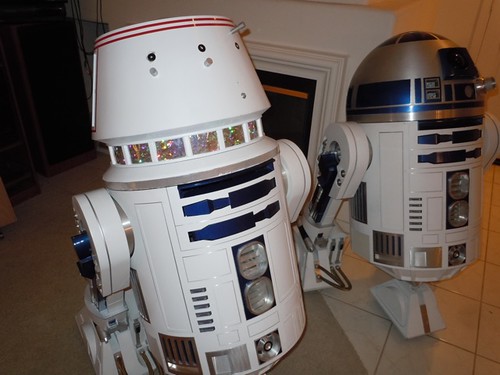
Tonight I had time to work on cutting down the R5 dome screws to the proper length.

The neck ring inadvertently separated from the rest of the dome, and I couldn't be happier. It had been working its way loose for a while now. This made tonight's work 100 times easier, and I can simply glue the neck ring back on at the end of this mini-project. I probably should have pried it off a while ago.


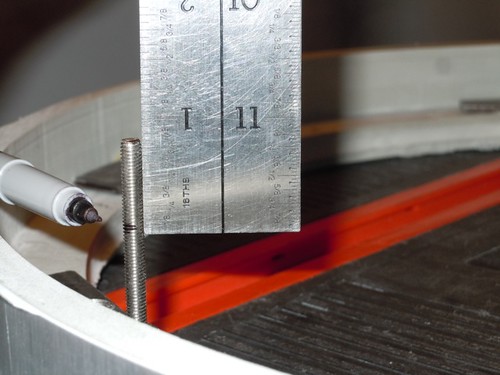
As I mentioned in yesterday's update, I need to cut about 3/4" from each of the six dome screws. I measured and marked where to cut.


I used the Dremel with the cutoff wheel attachment to cut each screw to the proper length.


The screws literally got molten red hot as the Dremel worked its way through. When the piece that was cut landed on the plastic workbench, it melted the plastic (see the mark to the lower-right of the cup). I used pliers to put the scraps in a cup of water to cool them down, and used a wet paper towel to cool down the remaining part of the screws in the dome.


All six screws have been cut.


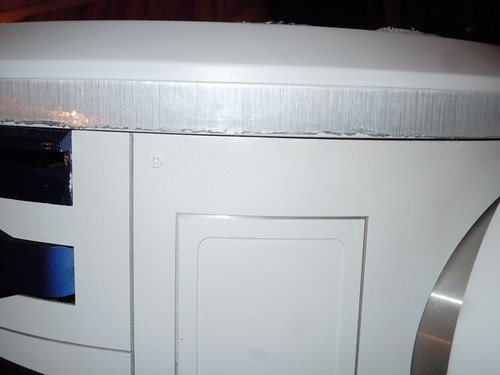
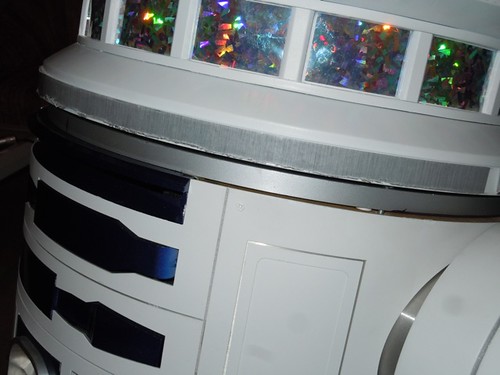
Three nuts help prop the dome off the skins. (I will replace the foil tape and various other dome details later.)


And finally, I placed the rest of the dome on the neck ring. So far, so good!


Still some stuff to do, like panel painting, and some dome detail work.

Monday, May 28, 2012

Sample Red for R5, Trouble with Steel Bar Screws

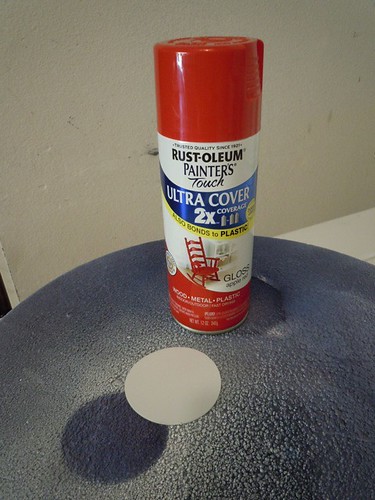
Since it was a nice day out, I decided it was time for a red paint test for my R5-D4 overlays that I'll be applying to droid #2. I picked up a can of Rustoleum Apple Red to see how it would look.

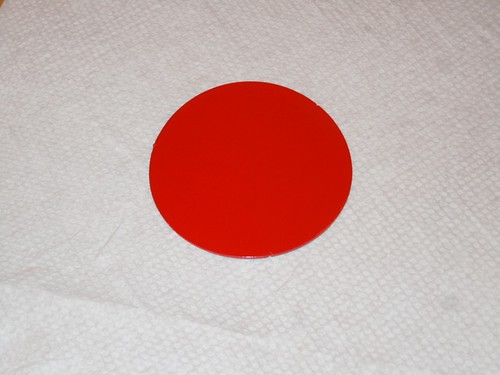
First, I grabbed a scrap piece from the skins and applied white primer, before the paint test.


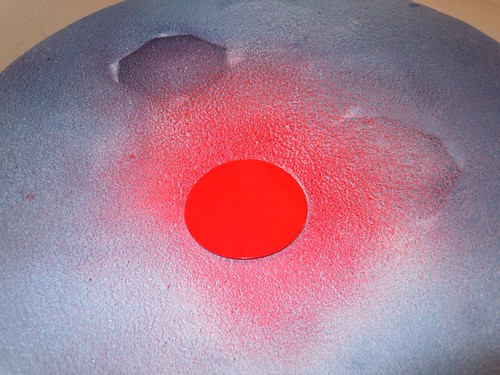
Well, I like the result so far.


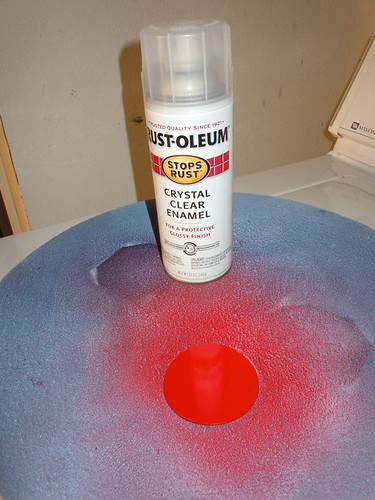
I debated whether to clearcoat, and in the end, I decided I at least wanted to see how it looked on the scrap piece.


It's hard to tell in this picture, but it does add a bit of a reflection, similar to the blue, and it should help protect the red undercoat. So I'll be clear-coating my red.


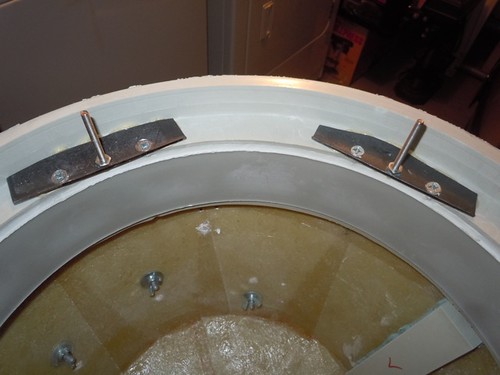
In the evening I decided to try attaching the #10 1/2" wood screws that are meant to help further secure the steel bar segments that are glued inside the R5 dome. This did not look too promising, as I now see that the holes are so close to the edge of the dome lip that the screws would almost certainly break through the wall inside the dome. Still, I decided to give it a try.


And sure enough, for some of the steel bar segments, that's exactly what happened. When I tried screwing the screw in place, it started tearing through the inner wall. In this case I pulled the screw out, but the damage was done. As far as damage goes though, this is of the more harmless variety.


In other cases, I was able to attach one of the two screws semi-successfully, but even then the inner wall was starting to buckle.


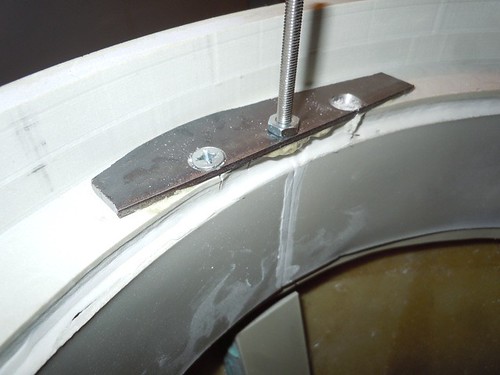
And there were a couple of cases where I was able to get both screws in successfully.


In all, I only got six of the twelve screws in place. Two bars have no screws, two have one screw each, and the other two have both screws in place. I'll have to trust the Gorilla Glue to hold the bars in place that don't have screws to assist it. The glue certainly seems to be holding fast.

Screw location was a bit of a balancing act, because if I had located the screws further from the center of the dome, I also risked having them burst through the outside of the dome, which really would have been a problem. Still, it looks like I could have done a little better.


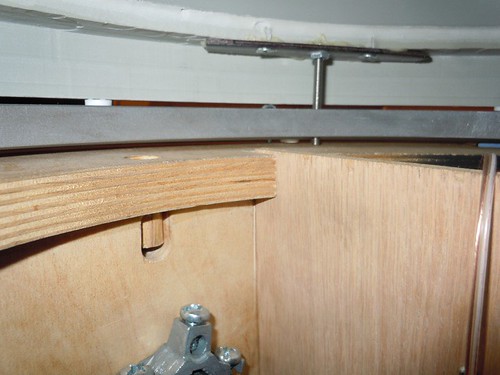
Next, it was time to see how things looked on the droid itself. The screws were installed intentionally long. With the Rockler bearing secured to the frame, and the dome plopped down, the screws go down until they hit the top of the wooden frame. (This was a particularly difficult shot to get from inside the dome, with the dome on).


The dome floats above the skins by about 3/4".


So I need to cut the screws down by about 3/4", and then add nuts to the screws to have them rest on the top of the Rockler bearing. Hopefully I can start working on that soon.

Sunday, May 27, 2012

R5 Dome Work and Pixar Roach at Mike's

We'll get to the Pixar roach in a minute. :)

After a few weeks away from work on the R5 dome, Mike kindly had me back at his place to finish the prep work needed to fit the dome onto the Rockler bearing.

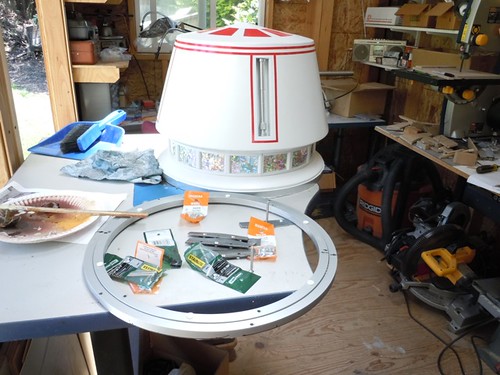
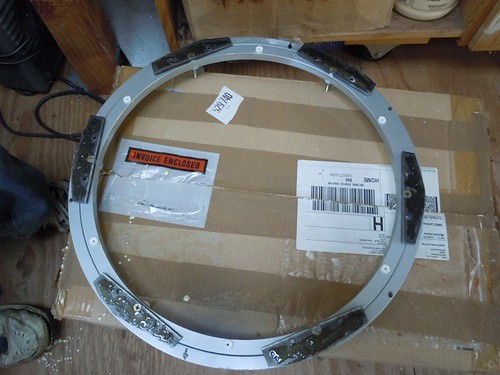
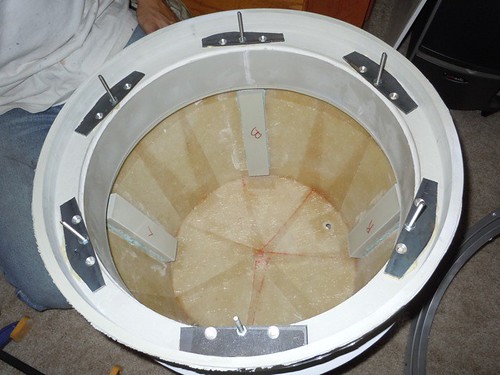
Here's where we left off: Dome, Rockler bearing, several segments of steel bar with holes drilled, some screws, and Gorilla Glue (so we can glue gorillas).


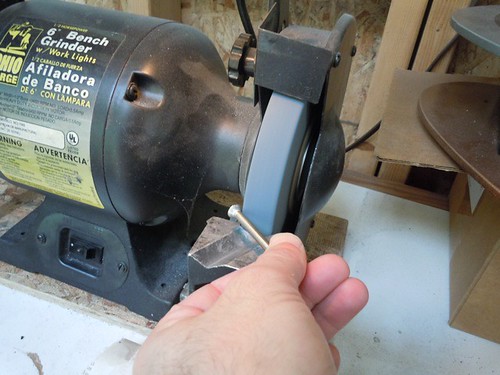
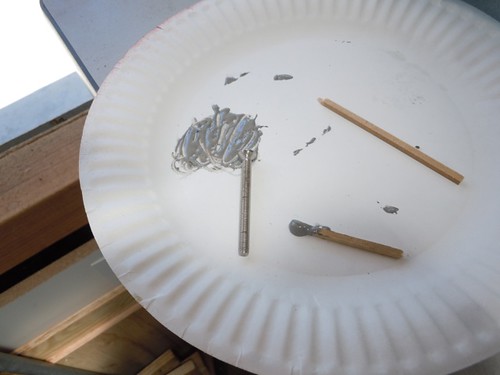
The first step was to rough-up the dome screw heads on the bench grinder, so they could be JB Welded securely to their holes in the steel bar segments.


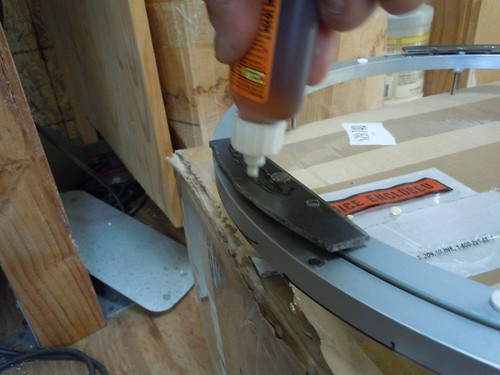
After securing the dome screws to the Rocker bearing with #10-32 nuts, it was time to apply Gorilla Glue to the underside of each steel bar segment.


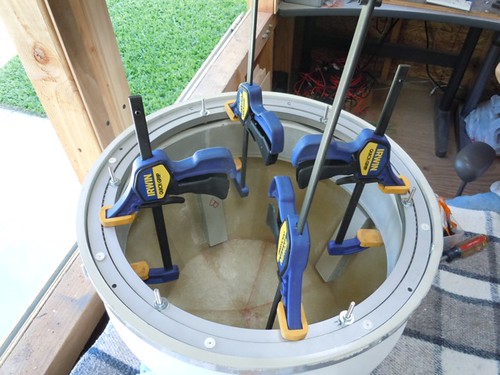
We then centered the bearing with the steel bar segments attached to it into the dome using washers, all the while making sure the bearing was oriented so that the "front" of the circular bearing (chosen arbitrarily long ago) was pointing toward the front of the dome.


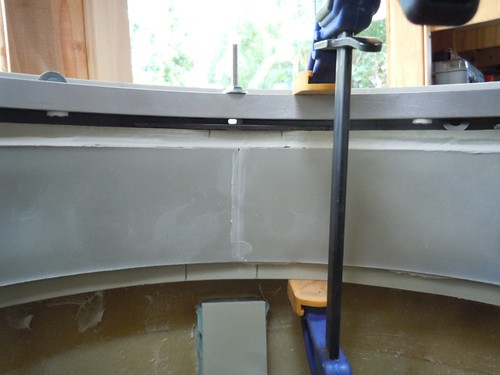
We clamped the bearing to the dome, to help secure the glue on the steel bar segments to the lip on the dome that I had routed out a few weeks ago.


While the Gorilla Glue cured, we took on a detour project.

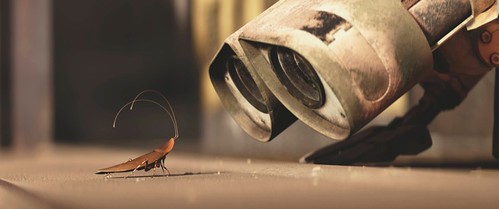
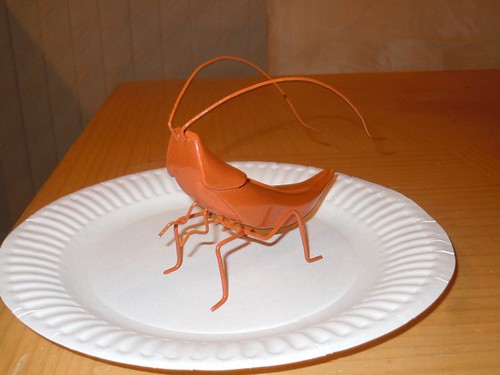
Remember the cockroach in Pixar's WALL•E?


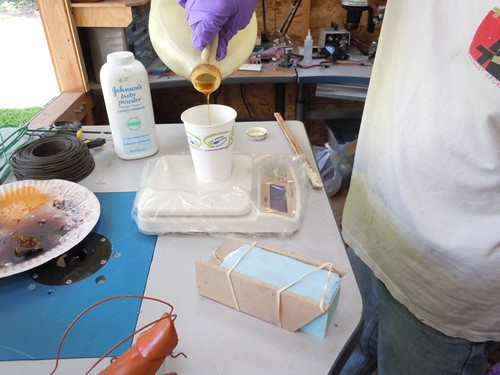
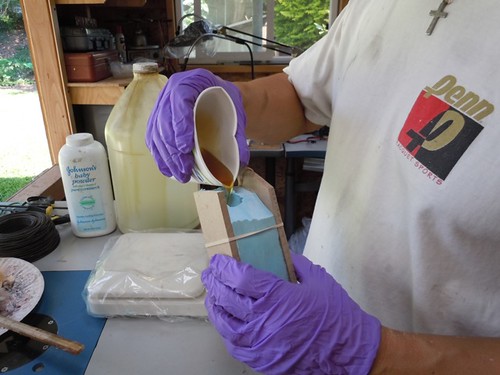
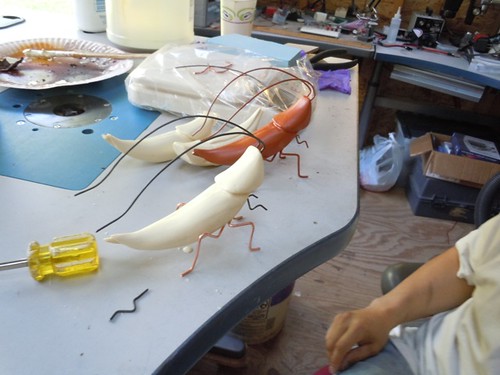
Mike made the roach out of MDF, and then made a silicone mold of that. From there, he poured a few resin roaches for Maker Faire that he attended last weekend with Michael McMaster. Mike offered to help make me a roach of my own (just what I always wanted!).


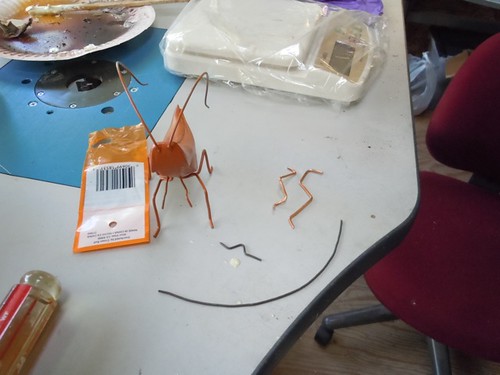
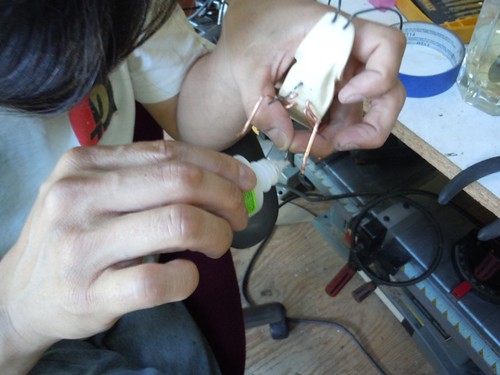
Besides the resin body, the only other essential ingredients are some pieces of solid wire that need to be cut to the proper length and bent to the correct shape. Mike had templates for these.


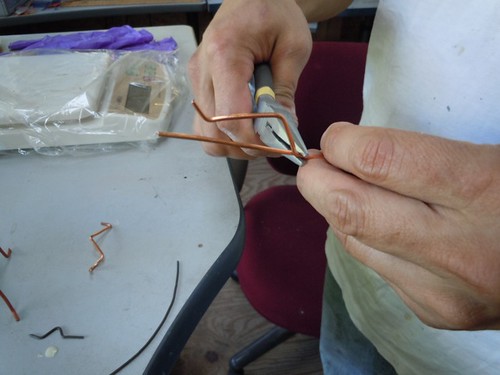
Mike showed me how to get started with bending the wire. I did my best to bend the wire segments to the proper shapes, but inevitably he had to make a few corrections along the way.


Once the bends were in proper order, Mike drilled some holes in the resin body and glued the wire segments in place.


Ready for paint!


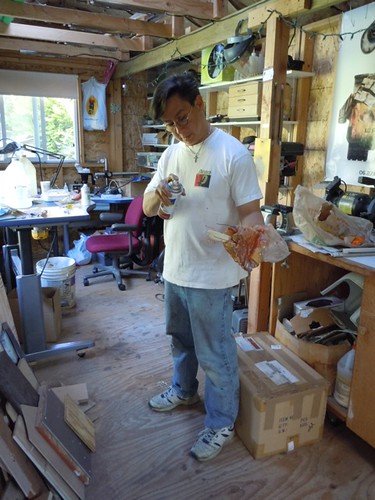
Rustoleum Cinnamon does the job.


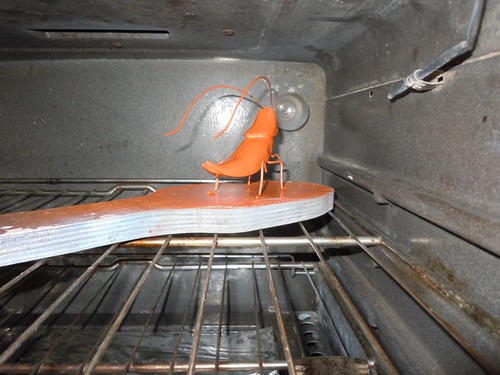
Next, into the oven it goes to bake to a delicious golden brown.


While the roach was drying, we checked on the dome and the Gorilla Glue. It had cured sufficiently that we were able to remove the clamps and the Rockler bearing.


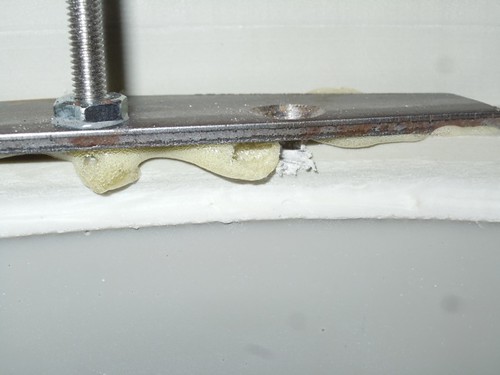
I will clean up the excess ooze from the expanding Gorilla Glue, and further secure the steel bar segments with a pair of #10 1/2" wood screws for each segment. I also need to cut down the dome screws to the proper length, once I've determined how tall they should be. Hopefully I'll get to that soon.

In the meantime, Bon Appetit!

Sunday, May 06, 2012

More R5 Dome Work

Today I returned to Mike's house to continue work on the R5 dome, while Mike and Michael McMaster continued their WALL•E work.

Yesterday, I left off having routed the lower portion of the inside of the dome base ring to allow room for the Rockler bearing. Today I raised the router bit to allow for full vertical clearance of the bearing into the dome (and then some).
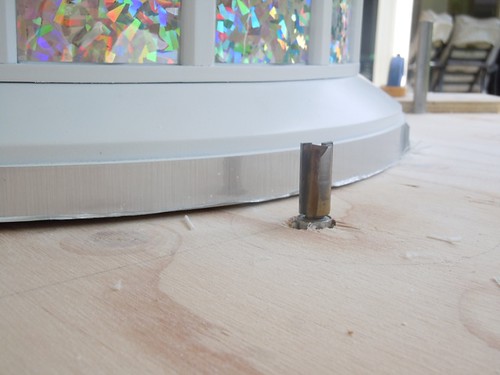


As was the case yesterday, this was an iterative exercise, where I reused the peg stop positions to route out a little more material at a time. The peg positions were chosen on a best-guess basis, with no real measurements taken.
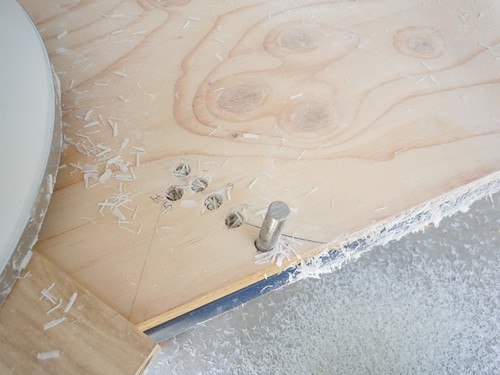


The first stair step is from yesterday's work, with the router bit set to a lower position. The second stair step is from the first pass of the router from today's work, with the bit set at the higher position.
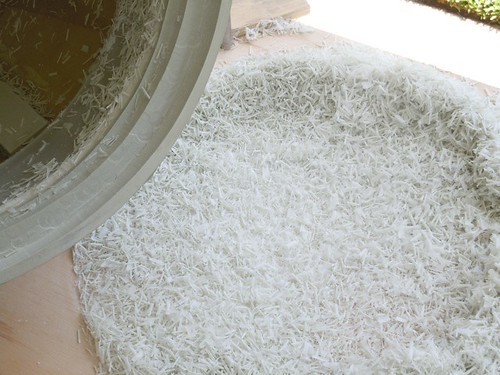


After six passes with the router bit raised to its new, higher position, the entire Rockler bearing fit into the dome vertically, with room to spare.
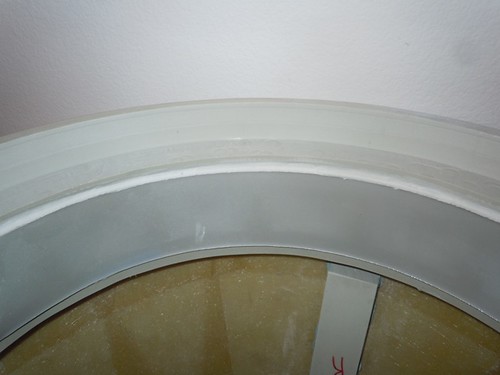


As luck would have it though, there is a problem. Normally the screws that slide through the dome ring fit just fine on an R2 dome. However, on this R5 dome, the screws don't have a good dome ring to fit through.
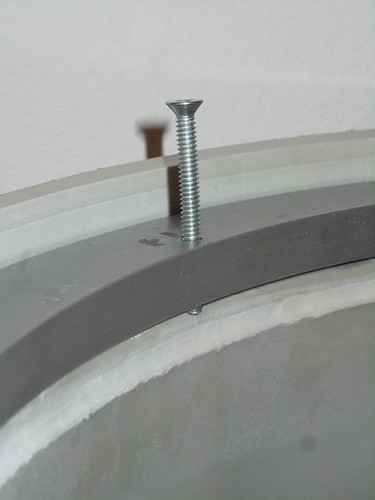


What to do?? Building a dome ring won't be of much help, as half of the screw would poke down into the neck area, and possibly poke through the outer surface of the dome.

Mike came up with the idea of securing the screws to the dome itself, and have them point down, rather than have the the screws pointing up from the Rockler bearing. I think I've seen this idea used before, and I'll have to use it here.

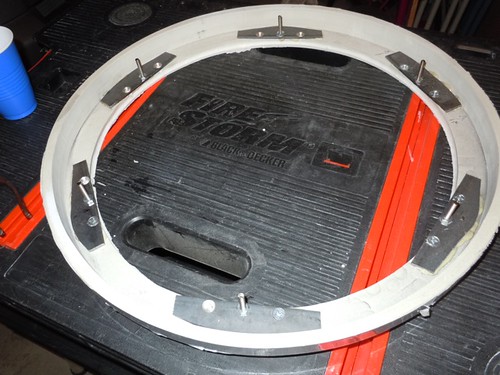
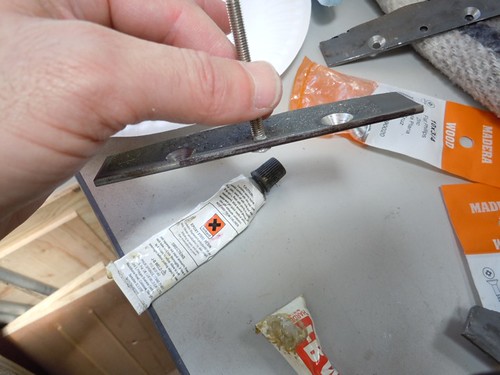
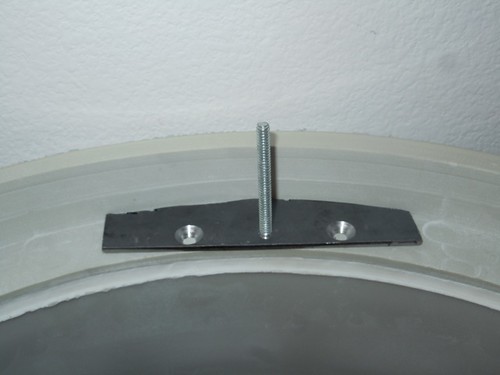
So, how to secure the screws to the dome? Mike suggested attaching segments of steel bar to the dome with screws and glue, and have the #10 screws that will point down be attached to the segments of steel bar. Here is a preview of a loose-fit of what I'm talking about.


Time for another episode of "Cutting Lots of Steel with a Hacksaw," my least favorite form of entertainment.

First, I cut six segments of steel bar stock to a semi-arbitrary length. Mainly we're looking for a decent amount of surface area for when it will be bonded and screwed onto the dome.
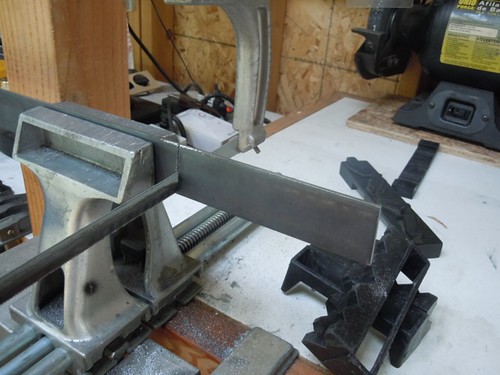


I traced the arc of the bearing onto the steel segment, so I'd know where I needed to do more trimming.
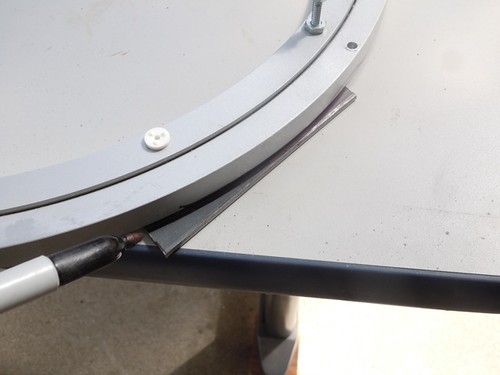


Without these extra cuts, the steel segments would bump into the inside perimeter of the dome, thereby forcing the inside edge of the bar into the dome drive wheel, and we don't want that.
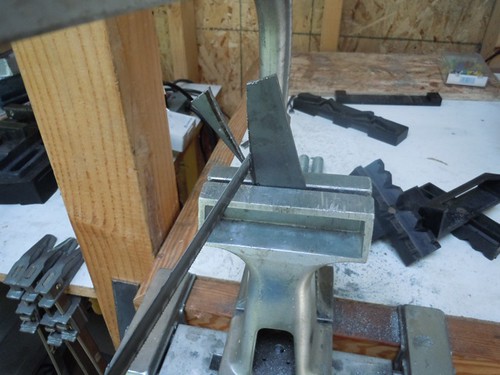


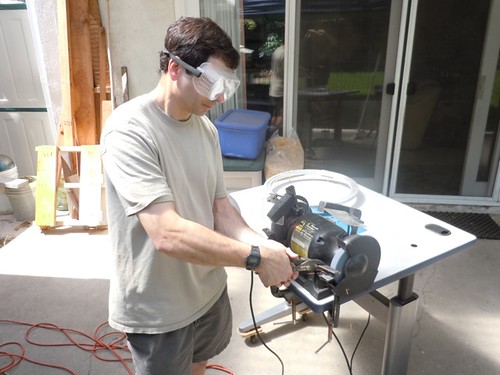
Some barely visible sparks on the grinder help clean things up. That looks like Michael McMaster's reflection in the glass, with the camera.


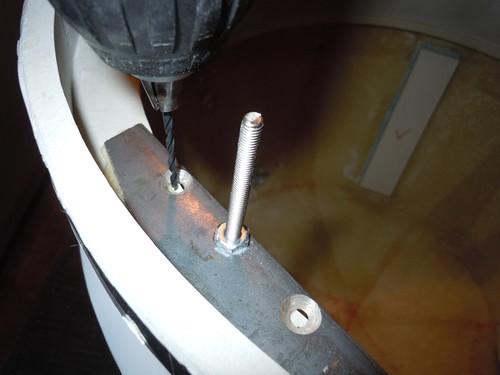
With 18 total cuts of steel out of the way, it was time to start drilling holes for the #10 dome screws.

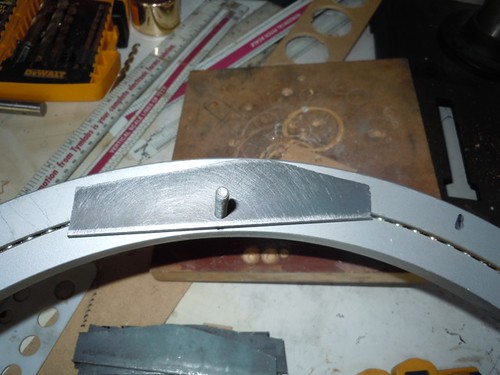


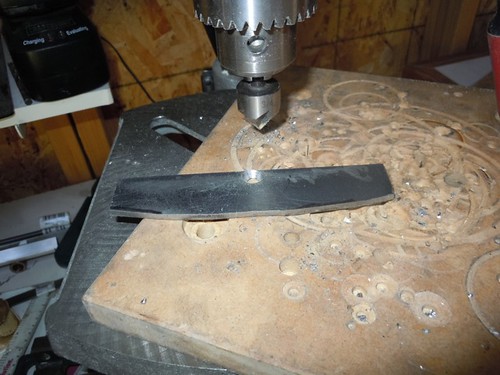
Followed by countersinking.


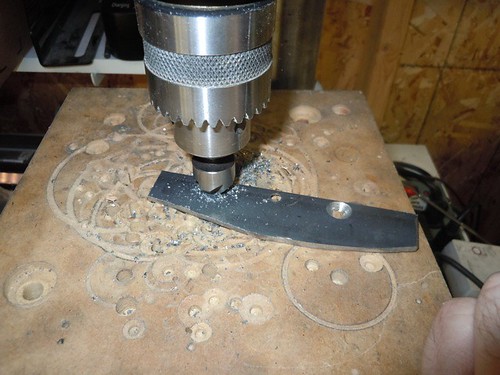
Next, I drilled two more holes on each of the steel segments and countersunk them on the opposite side of the center hole, for the screws that will be used to help secure the segments to the dome. The plan is to use #10 1/2" wood screws, and glue.


And that's all I had time for today. Here are the six steel segments, loose-fitted.
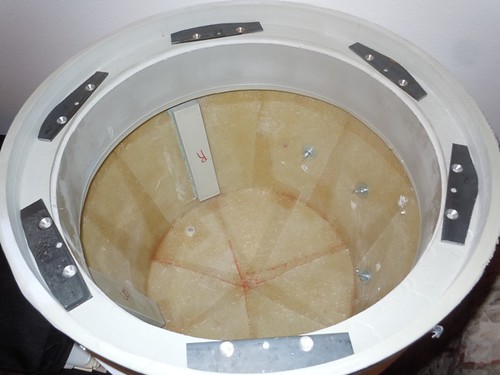


Returning to the picture I previewed earlier, the two holes on the left and right will have the #10 1/2" wood screws in them, while the center hole is home to the #10 screws that will slip through the Rockler bearing holes, with the bearing secured to the frame, but absent the usual screws that face upward.


Mike is busy getting his WALL•E ready for Maker Faire in the San Francisco Bay Area in a couple of weeks, so I'm planning to pause on this effort until he's done with that. Next steps will be to use the Rockler bearing itself as a template for where each of the six steel segments should be secured to the dome. We'll get there eventually.