Saturday, February 22, 2014

Started Working with CJ Stealth Controller

Chris James has been working on a very interesting remote control system, his CJ Stealth Controller. One of the most attractive aspects of this system is that it does away with the large and heavy transmitter, and replaces it with two palm-sized remotes that can be easily concealed (hence the "stealth"). I decided I'd take a good look at this for droid #2.

The system arrived yesterday, and today I had a little time to test it out. Instead of hooking up speed and dome controllers, for now I'm just testing with servos.

I hooked everything up and put it through its paces.


So far, so good! The servos turned as expected when I used the joysticks on the remotes. Sounds triggered properly. I relocated two of the servos to channels 5 and 6, and used the dials to one of the transmitters to simulate opening and closing the utility arms. Again, that worked as expected.

Soon I hope to test "on the bench" with a speed controller and NPC 2212 motors.

Tuesday, February 18, 2014

Finished Gluing Mounting Tabs on Aluminum Foot Shell Doors for Droid #2

Tonight I wrapped up gluing the mounting tabs down for the aluminum foot shells.

Yesterday's work seems to be holding up well, so all that was left to do was the opposite door for the center foot shell. Once again Gorilla Glue, the simian adhesive of choice.


Four tabs locking tabs and two alignment tabs later, and it's done. Or so I think.


I still need to glue the side strips and side details to the front side of the outer doors, and then I think they'll be done-done (except for painting).

Monday, February 17, 2014

Continued Gluing Mounting Tabs on Aluminum Foot Shell Doors for Droid #2

Today I picked up where I left off, gluing the mounting tabs for the aluminum foot shell doors for droid #2. Actually, I picked up a little behind where I left off, as a couple of the tabs from yesterday's session did not bond strongly enough. Since the other tabs seem to be holding okay, I re-sanded and cleaned the bonding surfaces, and glued them again. Hopefully they'll stay put this time.

As for the new work, I sanded and cleaned the PVC tabs for the mounting tabs that go at the top of the doors. Six down, two to go.


On goes the glue, made from genuine gorilla.


And on goes the tab.


One door is done for the center foot shell. I hope.


I repeated the process for the left and right feet. Hopefully their doors are done too.


If everything holds, then the only door left to do is the remaining one on the center foot.

Sunday, February 16, 2014

Started Gluing Mounting Tabs on Aluminum Foot Shell Doors for Droid #2

Back to work on the aluminum foot shell doors on droid #2. Yesterday I kind of forgot the center foot has two doors, so I need to make a few extra tabs to complement yesterday's batch. (I think I may have made this same goof previously too on either droid #1 or the A&A foot shells, or maybe both.) I sanded and cleaned all the surfaces before gluing.

Gorilla Glue claims the ability to adhere plastic to metal, so I'm going to put it to the test, as I used it to attach the pivot tabs on the bottoms of the foot shell doors.


I also decided to use Gorilla Glue to glue the metal tabs that go on the diagonal edge, that keep the door from sliding left-to-right. It's certainly easier to work with than JB Weld, and hopefully it will do the job.


I repeated the process for both the right and left feet.


Next up, the center foot. I taped the door down before getting to work.


I was only able to do one of the two doors, as I wait for the glue to dry.


Yesterday I mentioned some additional 1/16" thick metal tabs that I cut. The reason for these is that the PVC pieces are 1/8" thick, while the door frame is only 1/16" thick. Thus, the pivot pieces end up hovering above the door frames. If necessary, I will glue down those 1/16" tabs onto the door frames, but I'll wait until I can test out the door fit.


PVC glue claims the ability to adhere PVC to PVC, so that's what I used for the tabs that will hold the tops of the doors to the door frames.


I glued up eight of these pairs, and they'll get glued onto the doors soon.


Saturday, February 15, 2014

Cut Foot Shell Door Mounting Tabs for Droid #2

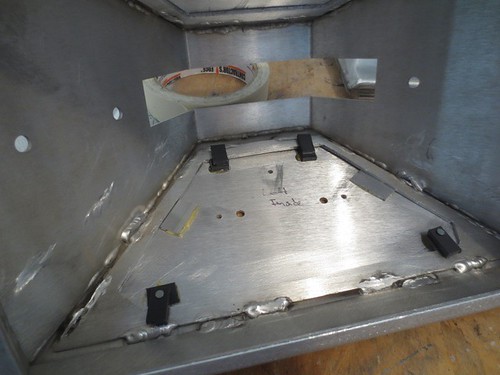
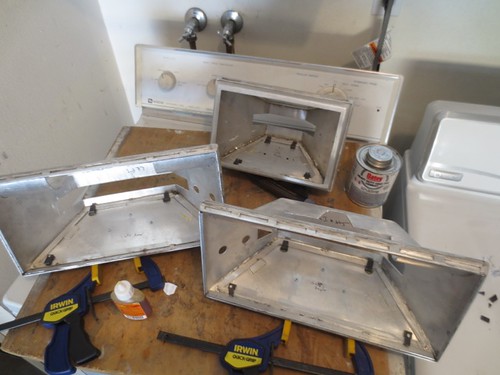
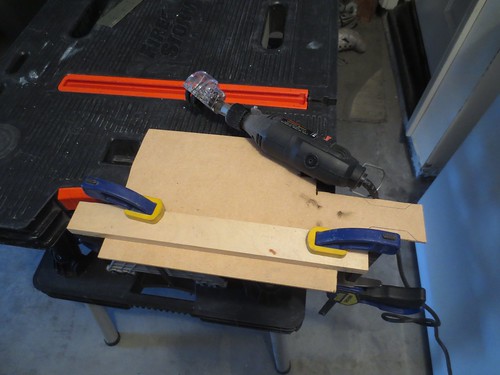
Today I returned to work on the foot shells for droid #2. This time it was time to cut the mounting tabs that are used to keep the doors in place on the foot shells.

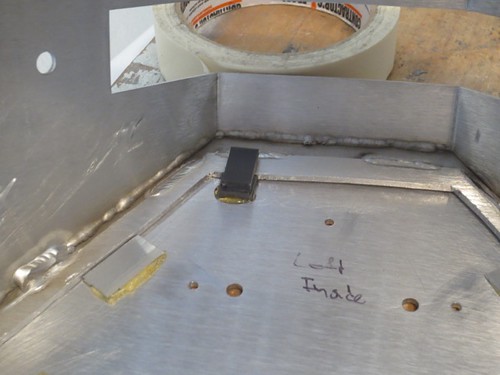
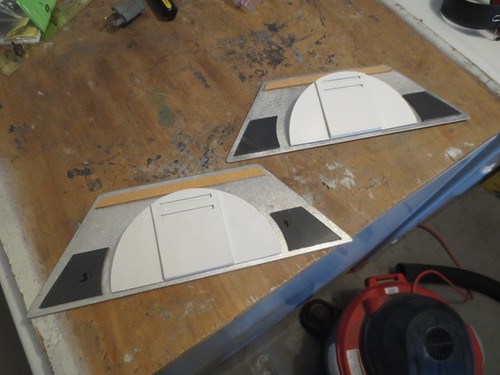
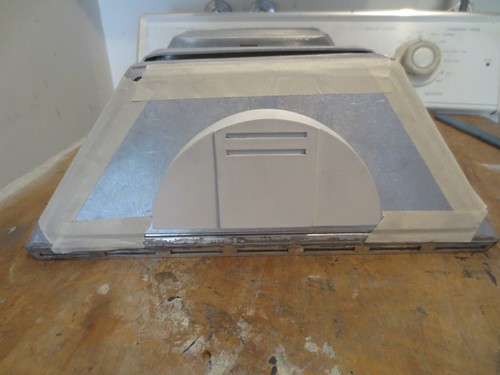
Unfortunately, the aluminum outer foot shells are less than perfect, so mounting the doors to be precisely centered really isn't possible, although it doesn't look too awful.


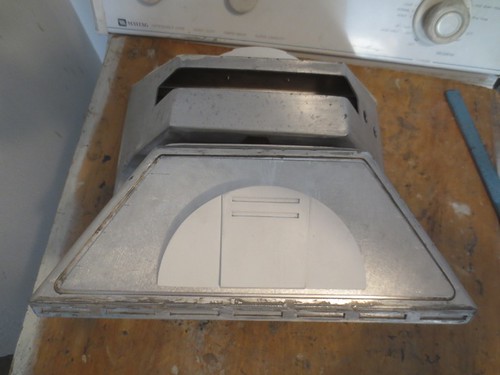
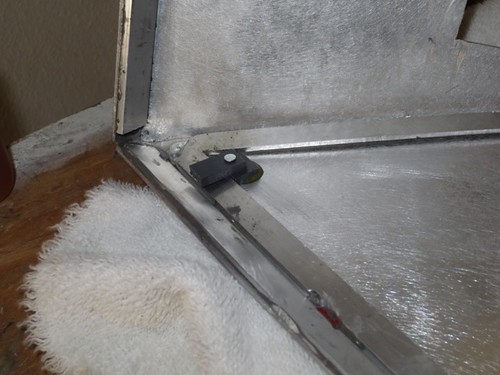
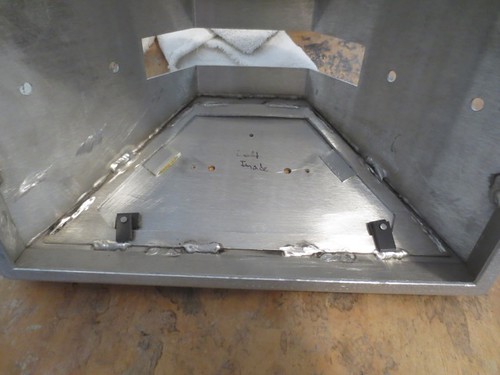
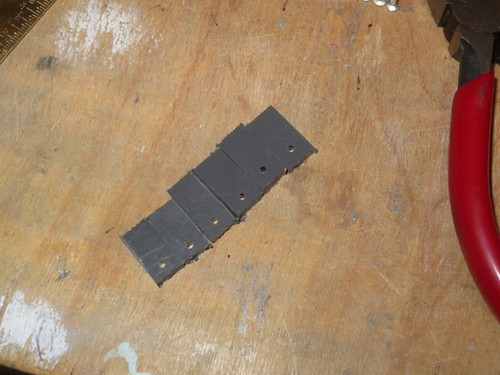
I taped the doors in place, as I'll need to have them stay put later, when I permanently attach the mounting tabs.


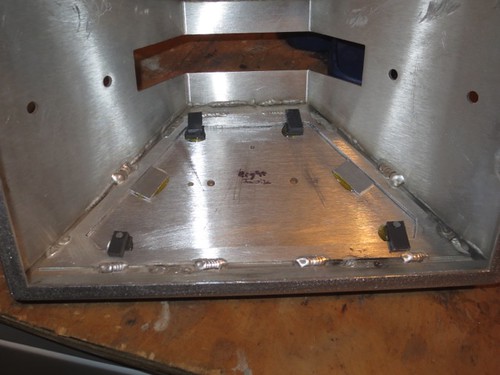
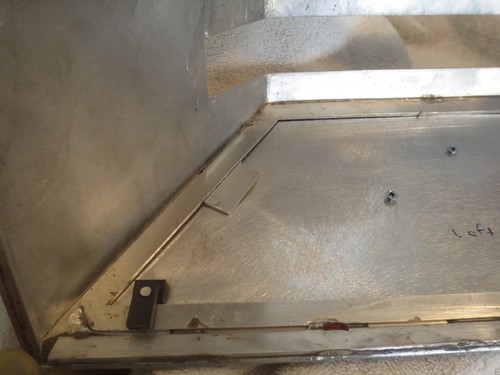
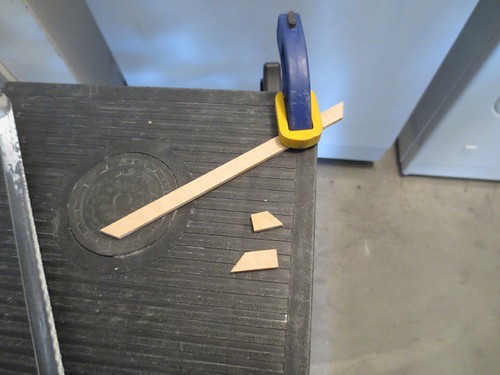
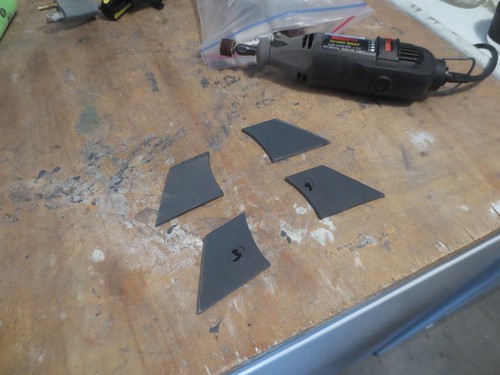
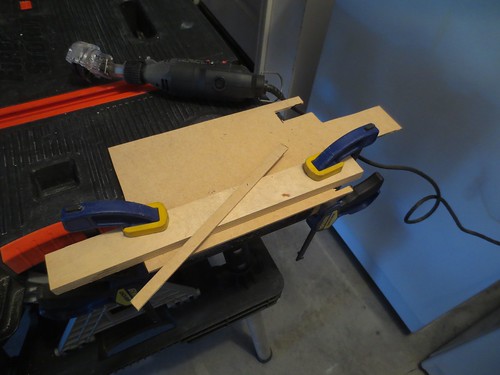
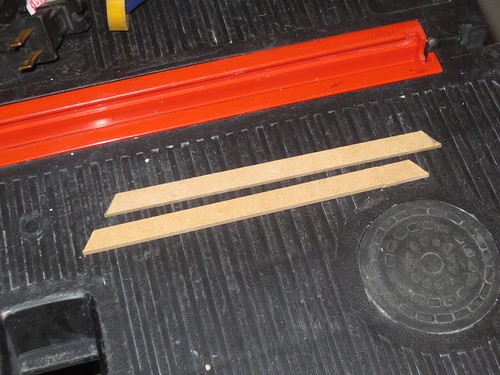
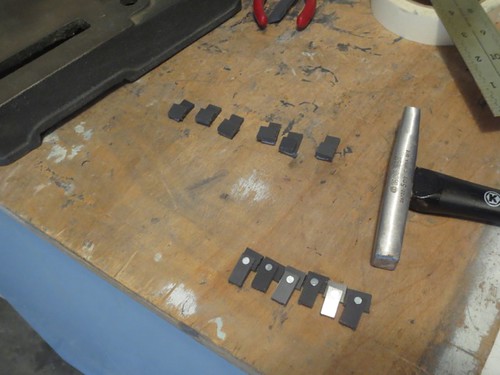
I am using 1/8" thick PVC segments on the backs of the doors to act as mounting tabs. The door frame is only 1/16" thick, so in theory I will need to double-up the thickness of the door frames. I cut several 1/16" aluminum tabs.


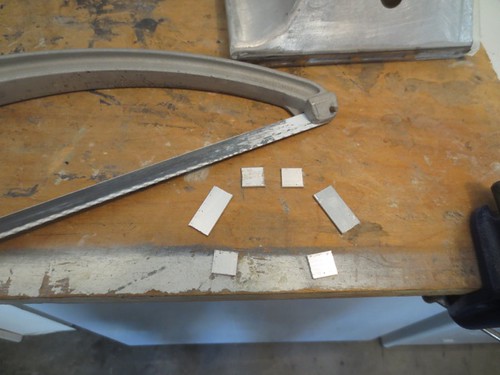
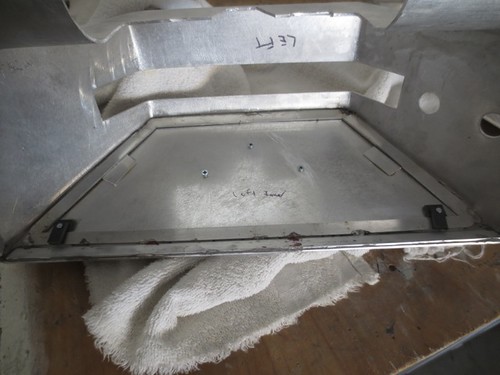
The two longer, diagonal tabs are to be mounted on the back of the door, to help keep the door centered in the frame. The four smaller tabs are to be mounted on the door frame, which is part of the outer foot shell, and not part of the door. This will make their height 1/8" above the back of the door, allowing me to stack a pair of 1/8" PVC segments on the back of the doors to clear them, but still provide a snug fit. I won't be sure I'll actually need the four smaller tabs until I do some test fitting. I probably should have waited on cutting those, but it's no big deal.


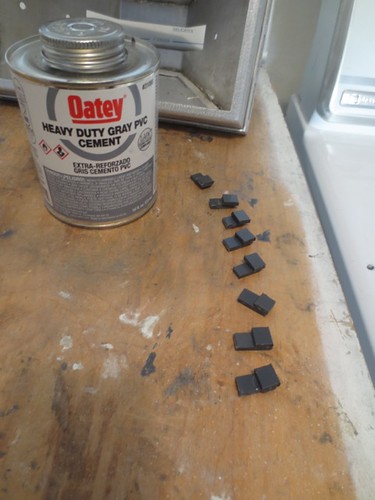
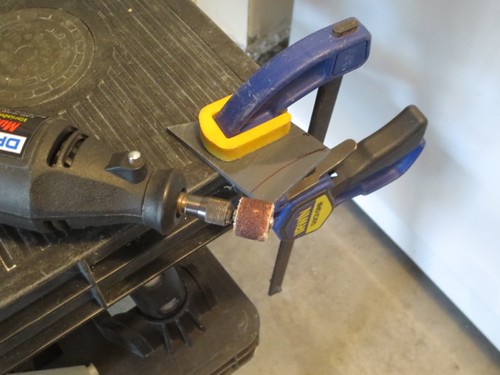
Next, I cut many small segments of PVC strips, and I drilled 1/16" diameter holes into the ones that will go along the bottom of the backs of the foot shell doors.


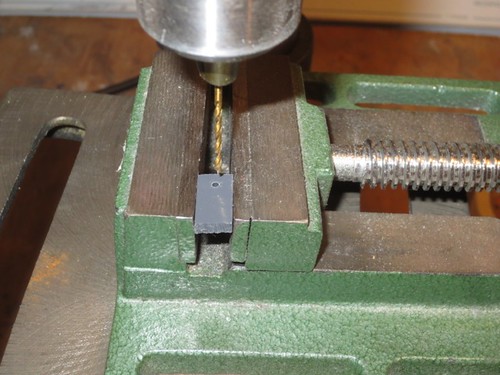
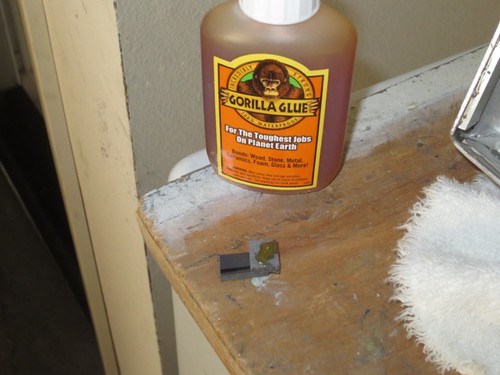
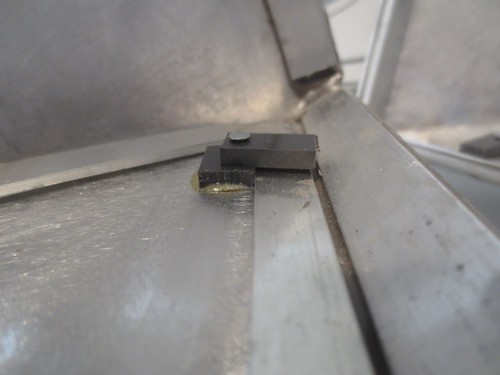
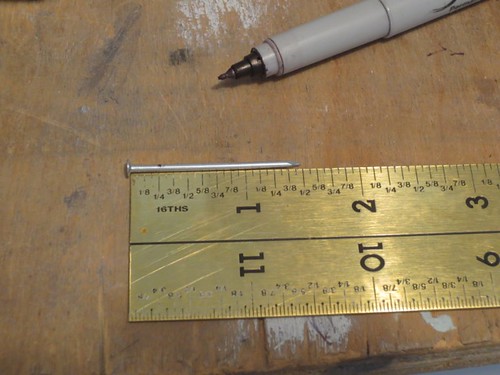
Using my needle-nose pliers, I cut six #16 nails down to 1/4" in length, long enough to go through two layers of the 1/8" PVC strips.


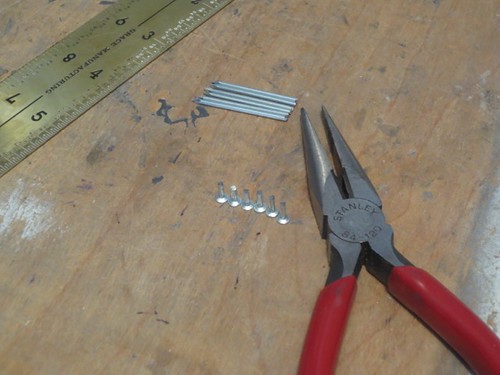
The nail acts as a pivot point, that will allow me to lock and unlock the doors on the door frame.


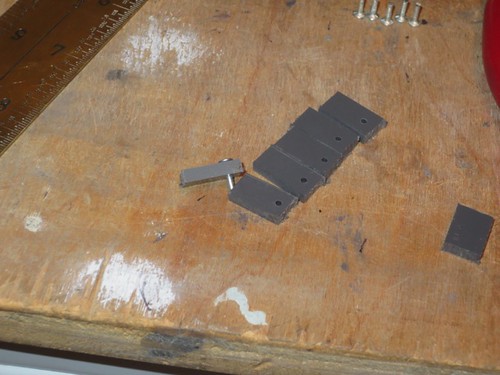
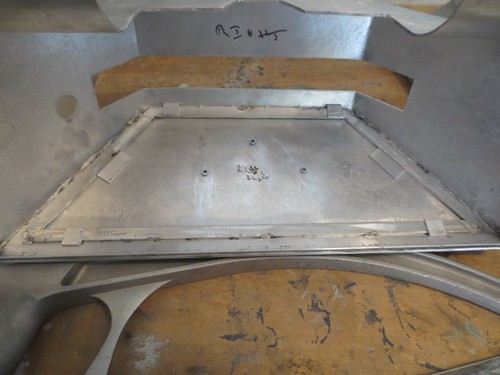
For each of the three feet, there are pairs of stacked PVC segments with nails as pivot-points for the bottom of the doors. Similarly, there will be stacked PVC segments for the tops of each door, but these will not pivot.


This will all be clearer when the tabs are attached, and it is also shown in the builds of the A&A foot shells I did earlier, as well as the build of the foot shells for droid #1.

Sunday, February 09, 2014

Recut Side Strip, Finished Side Details for Outer Foot Shell Doors on Droid #2

Today I returned to working on the strips and details for the outer foot shell doors on droid #2.

I decided to recut the MDF strip that I cracked yesterday, so I set up the material, fence and Dremel once again.


Once the strip was cut, I marked the corners and carefully cut them off with a hacksaw, this time avoiding cracking the strip.


Next, it was time to carve the curved part of the side details. I used the Dremel drum sander for this job.


I trimmed the PVC until I had made it to the end of the outline. In this picture I'm not quite there yet.


I repeated the process three more times.


This wraps up the parts for the front side of the doors. I have some work to do on the back side, in order to keep them in place on the foot shells.


Saturday, February 08, 2014

Cut Side Strips for Outer Foot Shell Doors for Droid #2

Today I cut the strips that go on the outer foot shell doors for droid #2.

Unlike the PVC side details I cut earlier, I ended up making these from 1/8" MDF. I switched materials mainly because I needed a long, straight edge to work with, and none of the PVC I had would fit the bill. Otherwise, the technique was the same.

I set up the material, and a strip of plywood served as a fence/guide for the cut.


One strip of 2 is partially cut.


I used a hacksaw to cut the angles from each edge.


And the two are done.


Unfortunately, I cracked one of the pieces (the lower piece, toward the right) while I was sawing it. I thought I could glue it back in place, but I may end up recutting it.